Concept
Transfer of coracoid process and conjoint tendon through subscapularis
1. Autograft bone block procedure - restore glenoid anatomy
2. Subscapularis tenodesis
- dynamic anteroinferior musculotendinous sling
- stabilizes shoulder in vulnerable position of abduction and external rotation
Definitions
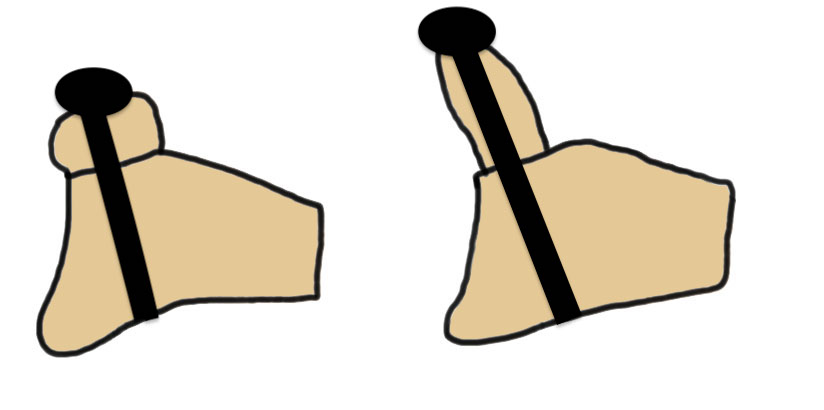
| Latarjet | Bristow |
|---|---|
|
Coracoid 2 - 2.5 cm Undersurface of coracoid fixed to glenoid Secured with two screw |
Coracoid 1 cm Osteotomy site fixed to glenoid One screw |
|
 |
 |
 |
Indications
Critical bone loss > 20%
Subcritical bone loss > 10%
Engaging Hill Sachs
Contact athlete
Failed arthroscopic surgery

Large anterior glenoid deficiency
Large Hill Sachs


Failed arthroscopic stabilization
Bone block positioning
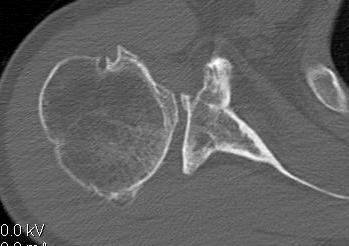
Concepts
- coracoid must not overhang medial to avoid osteoarthritis
- coracoid < 5 mm medial to glenoid rim
- coracoid lower half of glenoid 2 - 5 o'clock
- fixation screws purchases posterior glenoid cortex
- screws do not penetrate articular surface
Traditional Latarjet v Congruent arc
- align concave inferior surface coracoid with medial concave glenoid
- graft is thinner in this position, making screw fixation more difficult
Results
Latarjet
- systematic review of 845 Latarjet with 10 year outcomes
- good/excellent outcomes 86%
- return to play 85%
- recurrent instability 9%, 3% recurrent dislocations
- revision rate 4%, with 1.6%
- OA in 38% of patients
- residual shoulder pain in 36%
Bristow versus Latarjet
- 66 Bristow procedures versus 35 Latarjet procedures evaluated with CT
- bone union: 97% Latarjet, 73% Bristow
- bone resorption: 100% Latarjet, 6% Bristow
Open versus arthroscopic
- systematic review of open versus arthroscopic Latarjet
- 11 studies and 1200 patients
- arthroscopic: longer OR time, lower outcome scores, higher revision rate, higher screw deviation
- open: higher nonunion rate
Fixation methods
Thamrongskulsiri et al Clin Orthop Surg 2023
- systematic review of fixation with screws v cortical button
- significantly lower recurrence rates with screw fixation
Traditional versus congruent arc Latarjet
- systematic review
- traditional latarjet: lower incidence fibrous or nonunion
- congruent arc: improved return to sport, recurrent instability and revision surgery for recurrent instability
Latarjet
Technique
Vumedi open Latarjet surgical technique video
Arthrex open Latarjet guide PDF
Deltopectoral approach
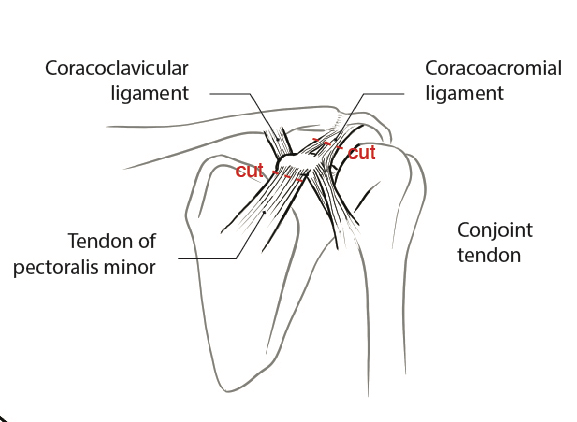
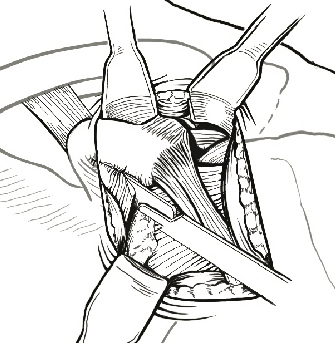
Coracoid osteotomy
- use retractor on superior surface to identify entire coracoid
- release coracoacromial ligament from lateral coracoid
- release pectoralis minor from medial coracoid
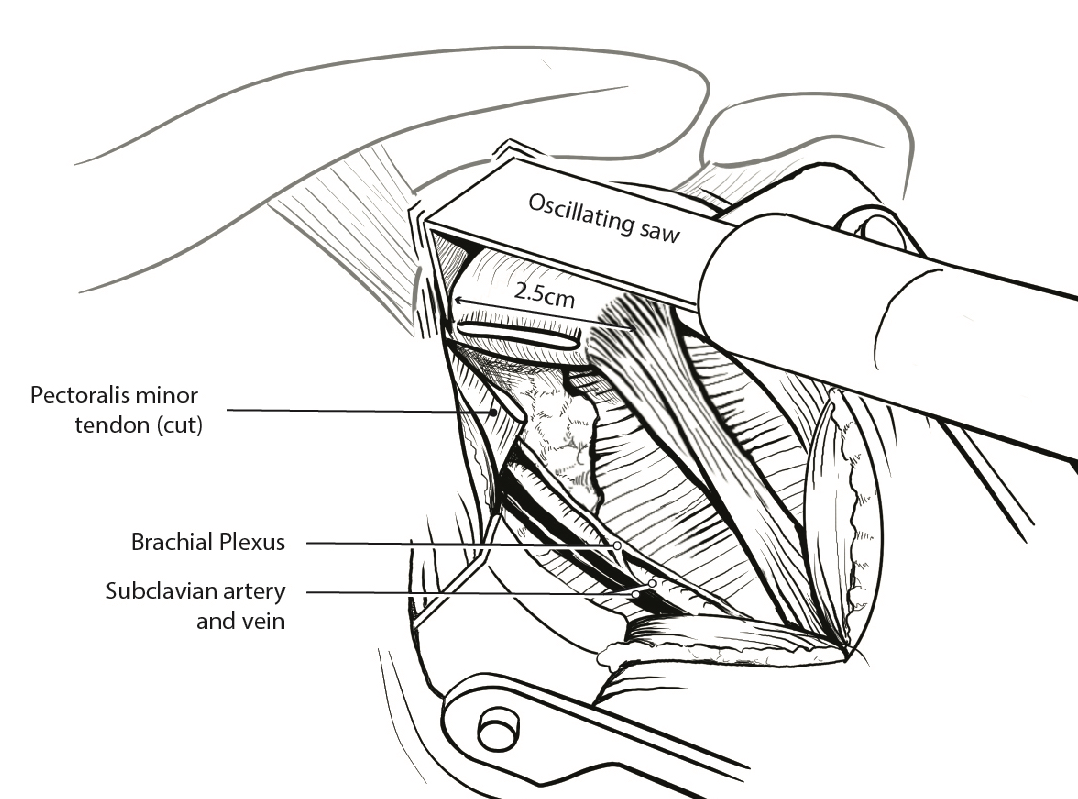
- 2 cm coracoid osteotomy using 90o oscillating blade on microsagittal saw 100
- create bleed bone surface on posterior coracoid
- mobiize conjoint tendon, beware MCN 5 cm distal
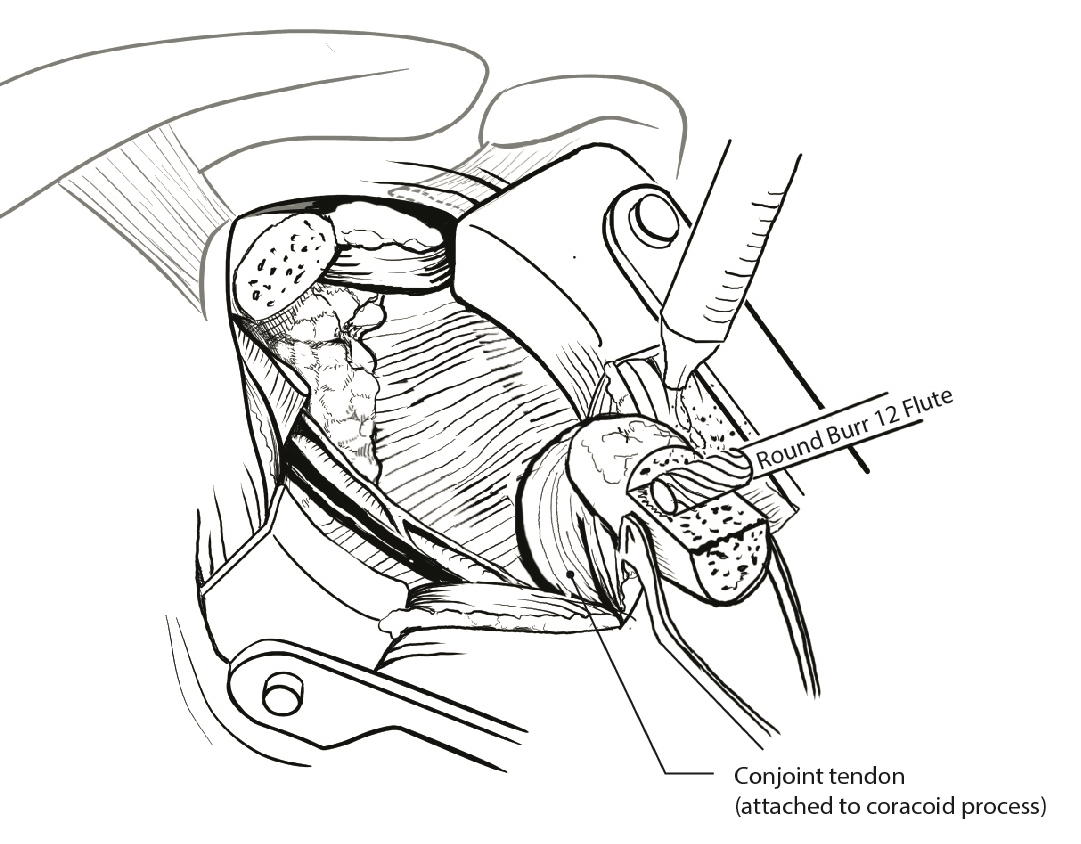
Glenoid preparation
- split subscapularis at midsubstance of muscle belly
- can perform subscapularis tenotomy
- capsulotomy - vertical or transverse
- medial glenoid retractors / Fukuda retractor over humeral head
- inferior glenoid retractor - protect AXN
- create bleeding glenoid bone with burr
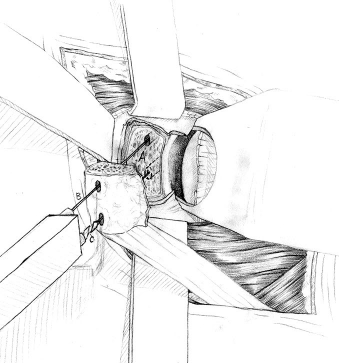
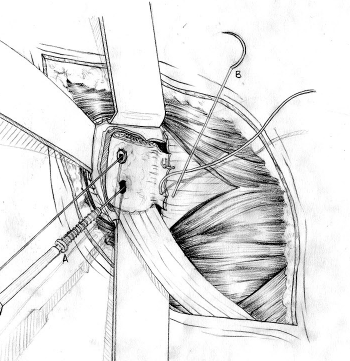
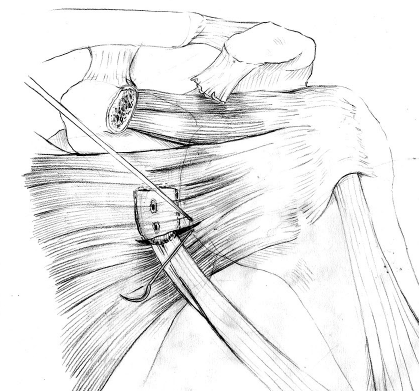
Secure coracoid
- inferior half of glenoid
- no medial overhang
- secure with 2 x bicortical screws with compression
Closure capsule / subscapularis
Complications
Infection
Nerve injury
- systematic review
- incidence of 1%
| Suprascapular nerve | Axillary nerve | Musculocutaneous nerve |
|---|---|---|
|
Superior screw Too long Aims too high |
Likely secondary to traction Avoid inferior retractors |
Enters conjoint tendon distally Avoid excessive dissection |
Vascular injury
- systematic review
- incidence of 1%
- axillary artery injury
Graft fracture
Screws too tight
Screws too close together
Bone block too small
Resorption
Usually well tolerated.
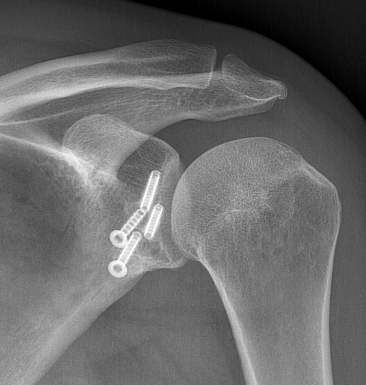
Union
Not all fibrous unions need revision - can result in stable shoulder
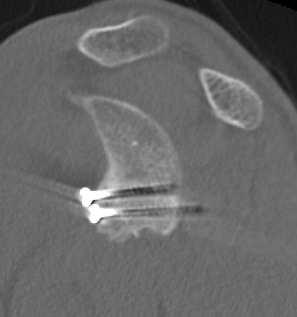
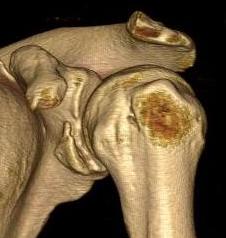
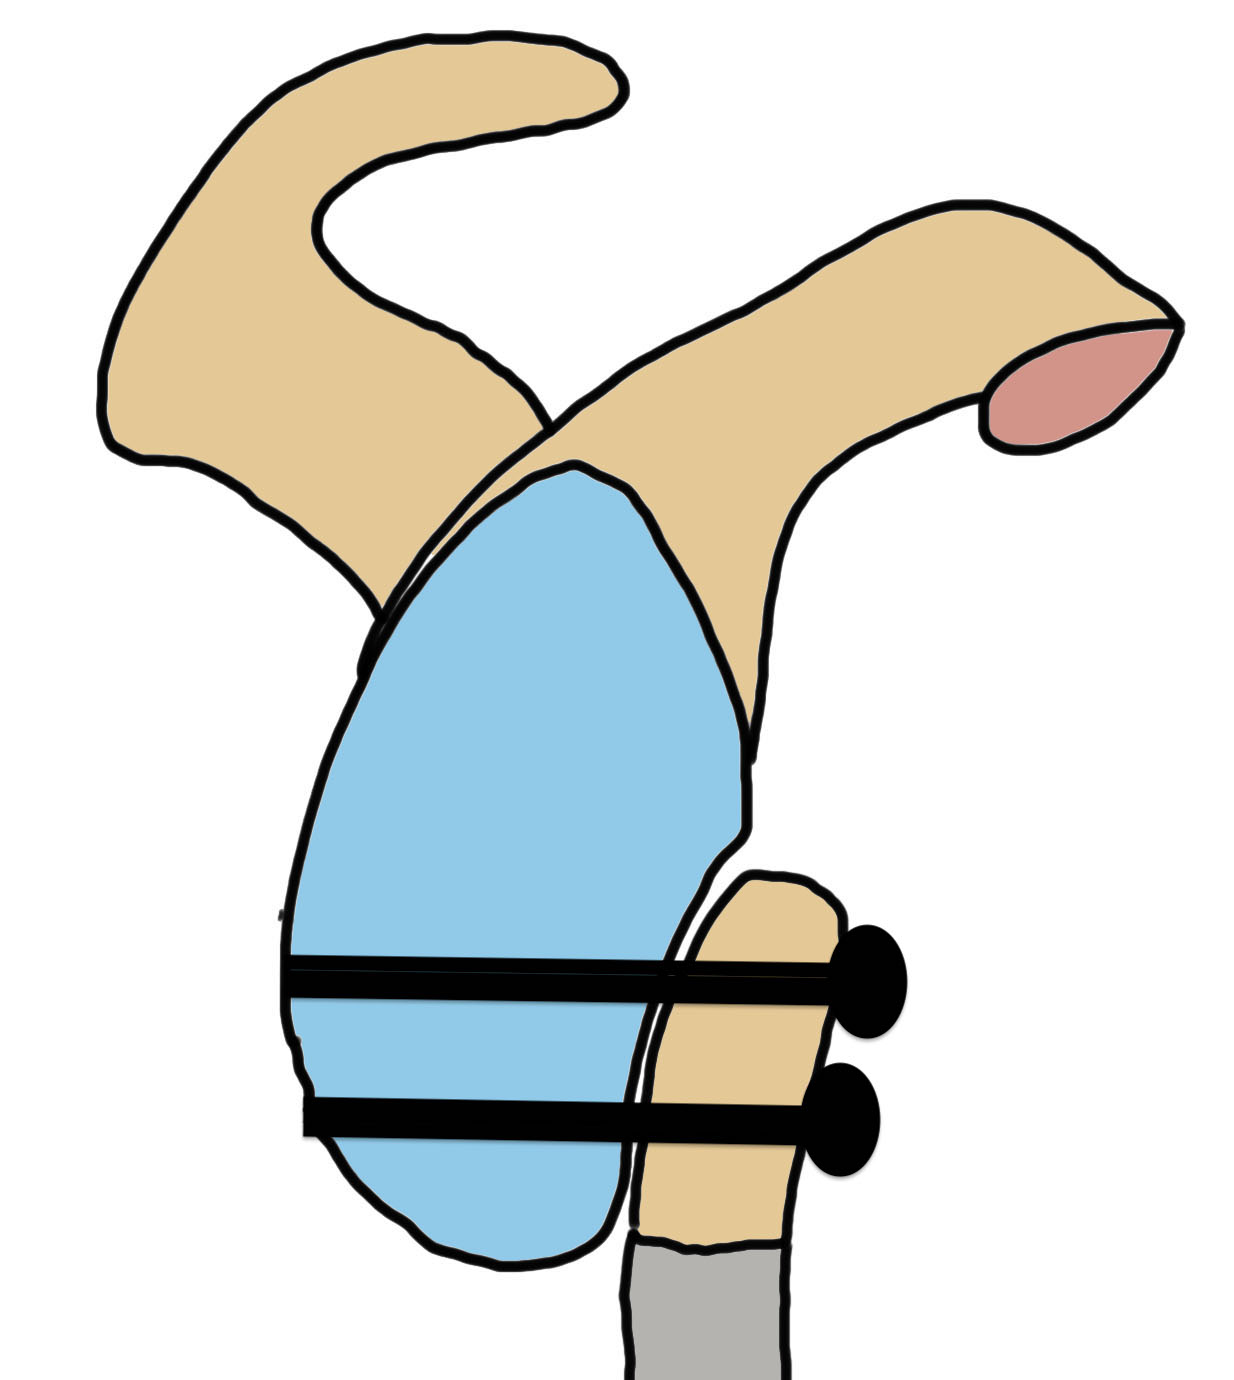
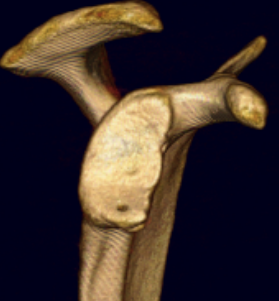
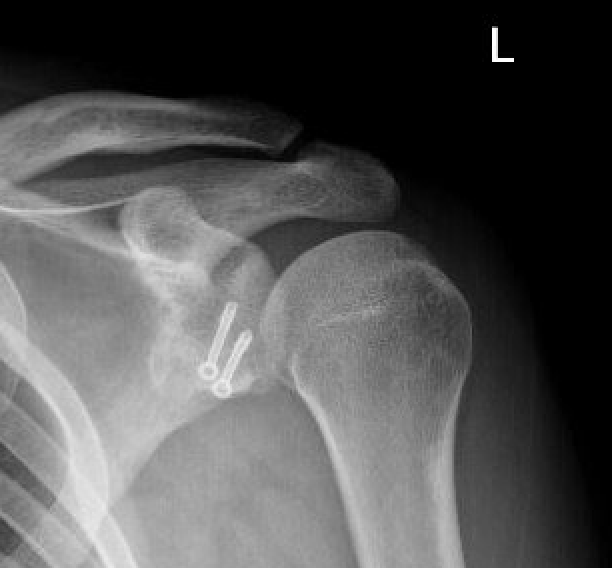
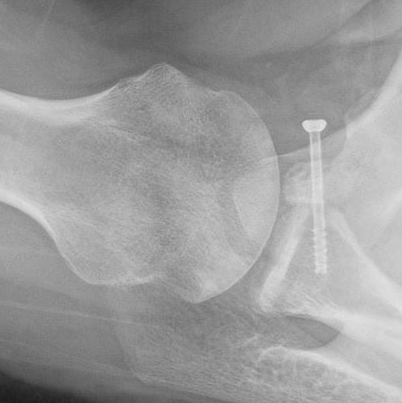
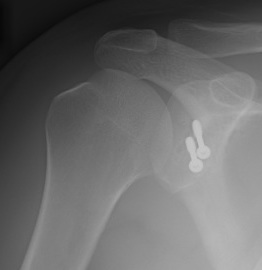
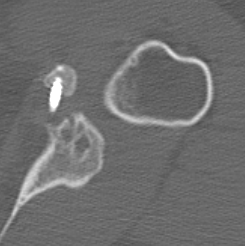
Complete bony union of Latarjet
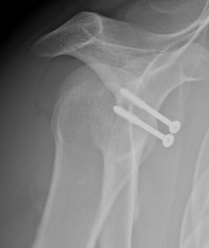
Nonunion / fibrous union
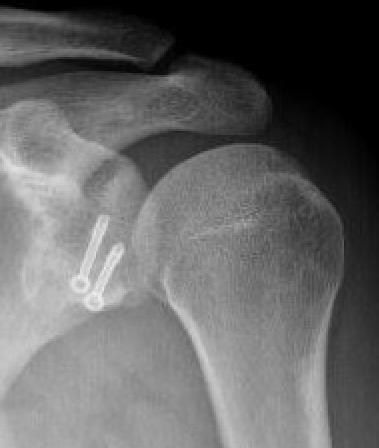
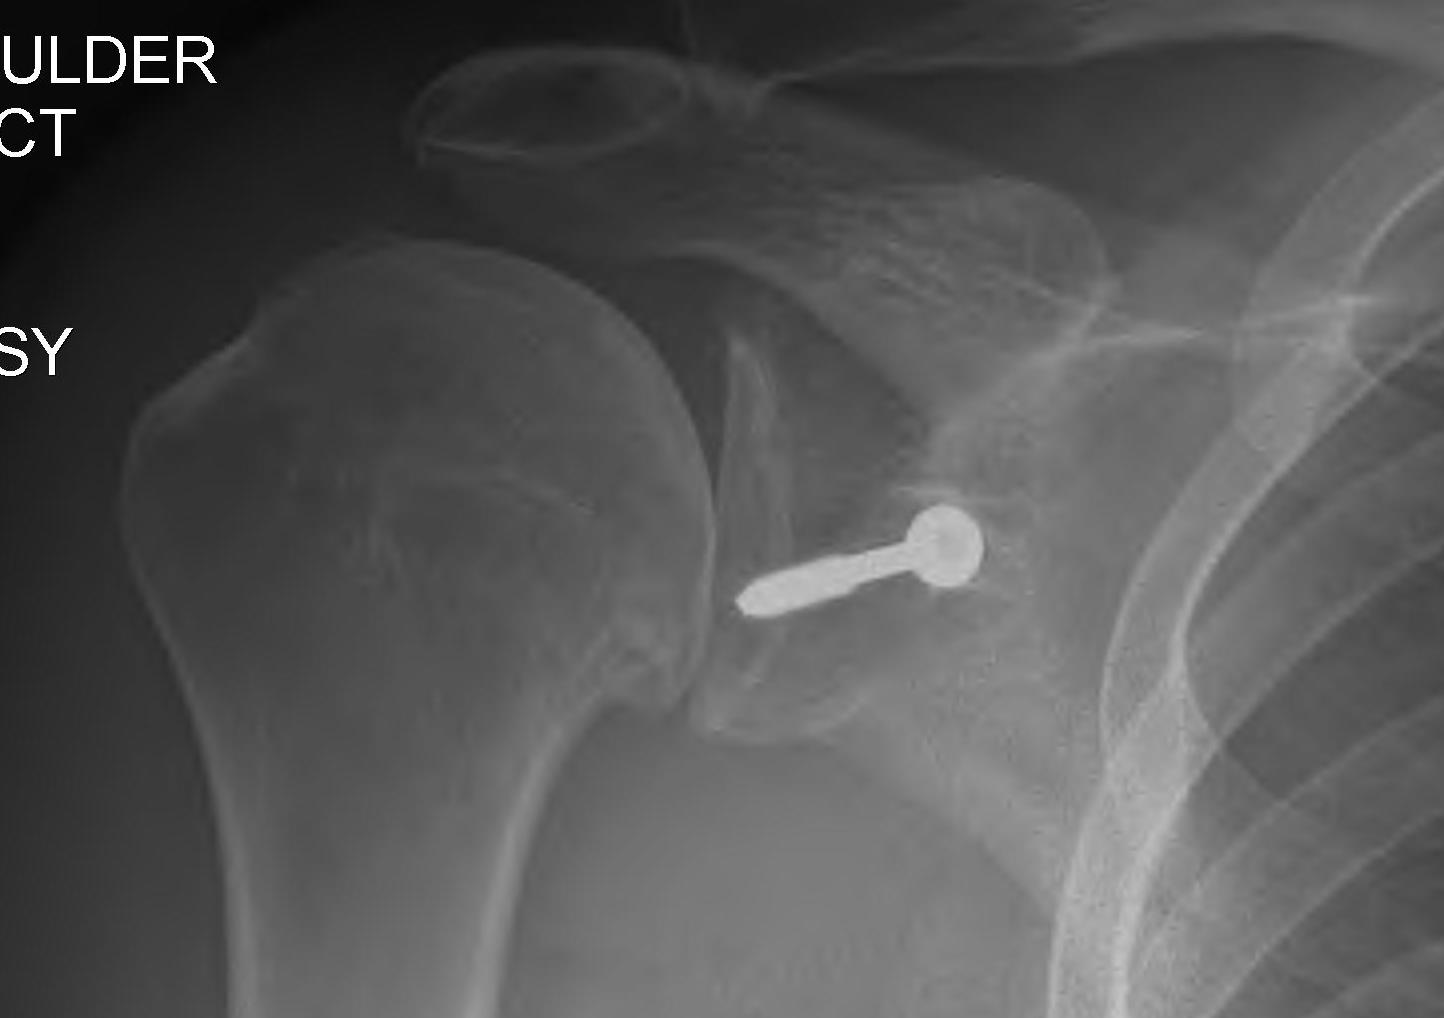
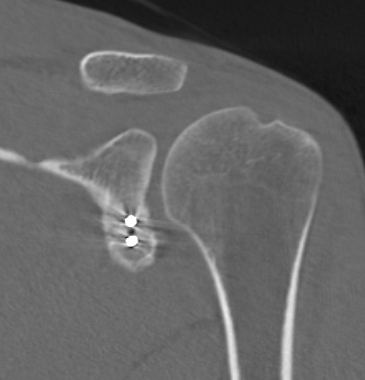
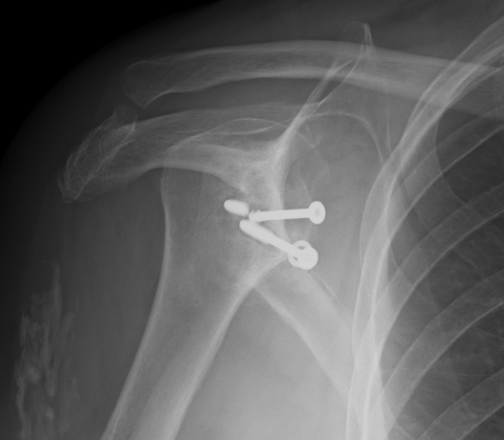
Hardware issues
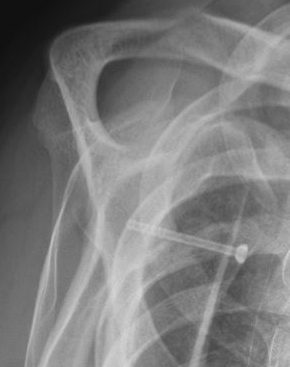
Screw backout
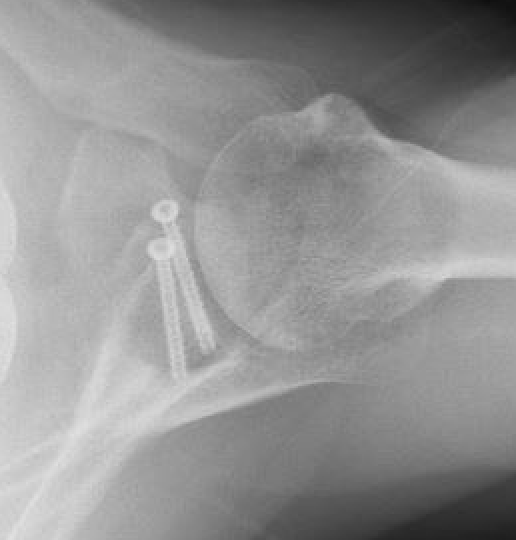
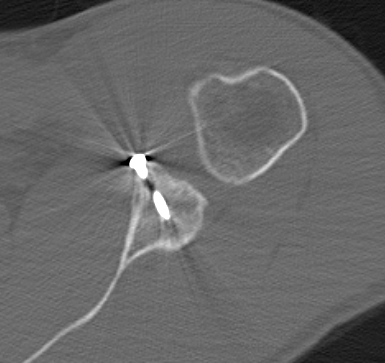
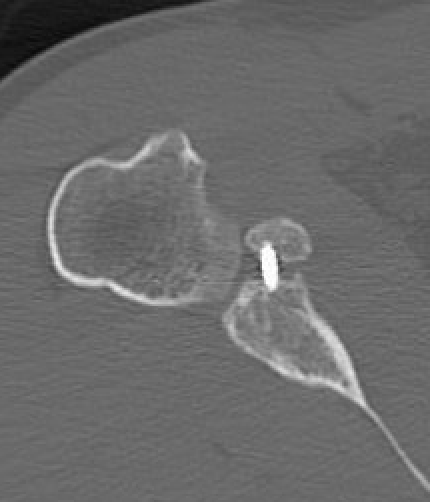
Intra-articular screw
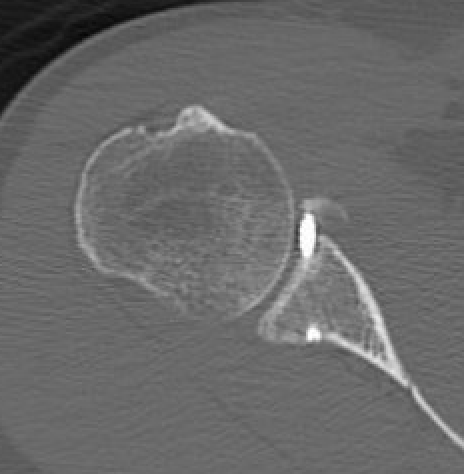
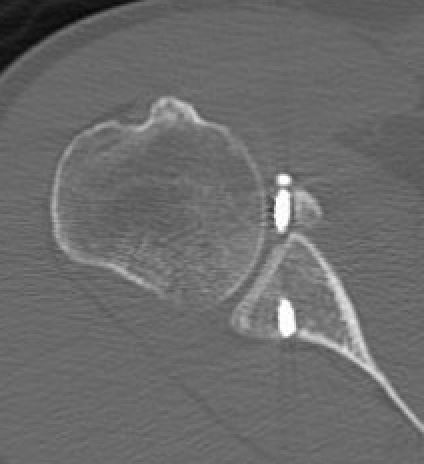
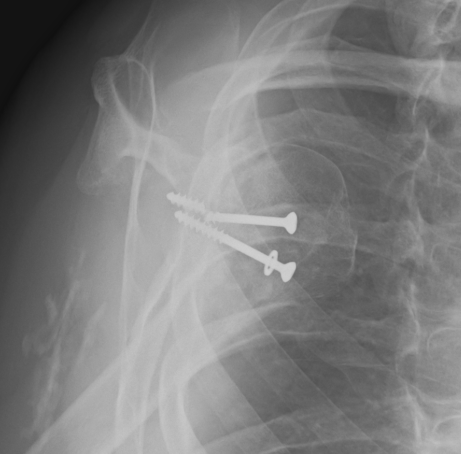
Graft malposition


Screws and graft too medial
Bone graft too medial
Coracoid graft too superior on glenoid
Osteoarthritis
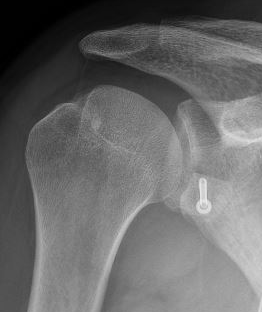
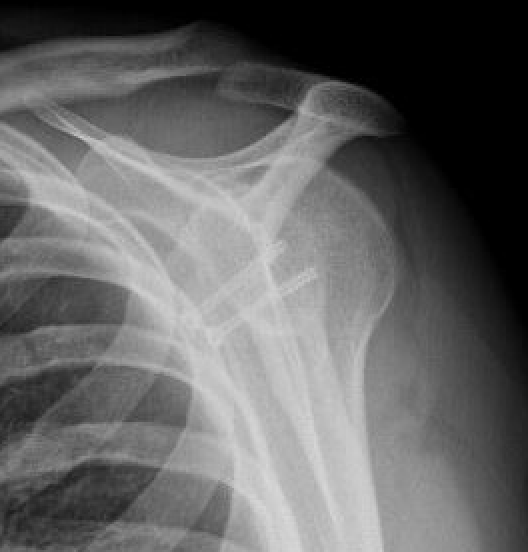
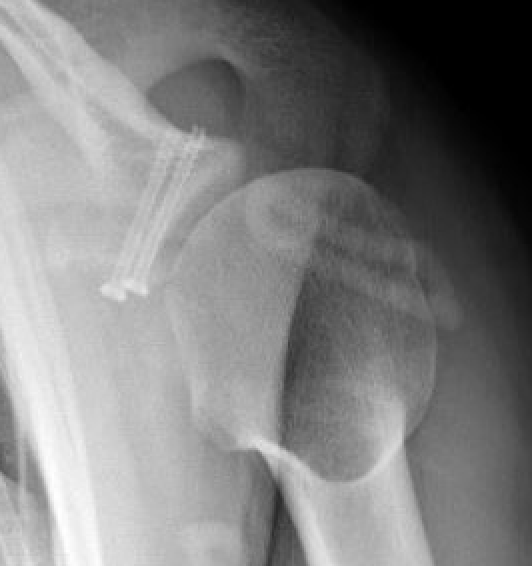
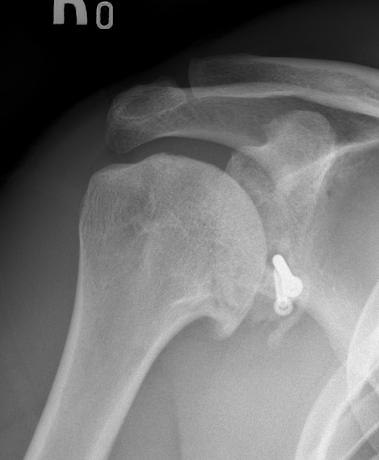
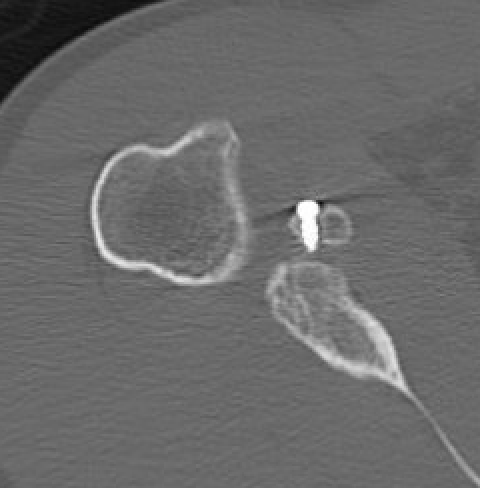
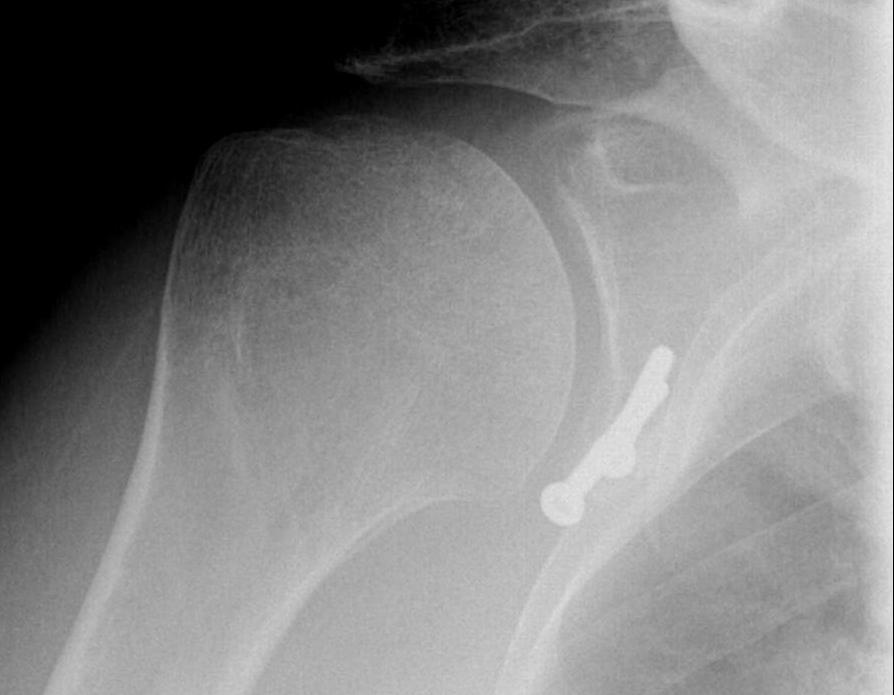
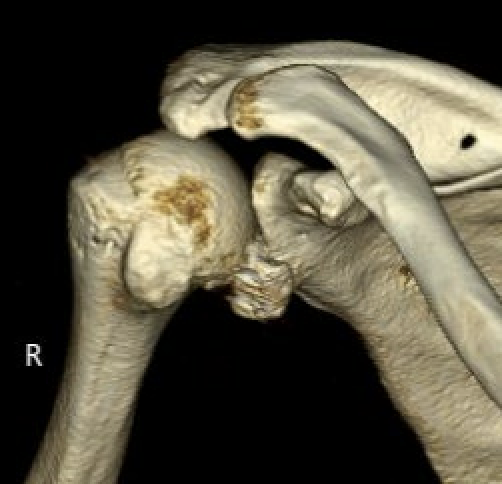
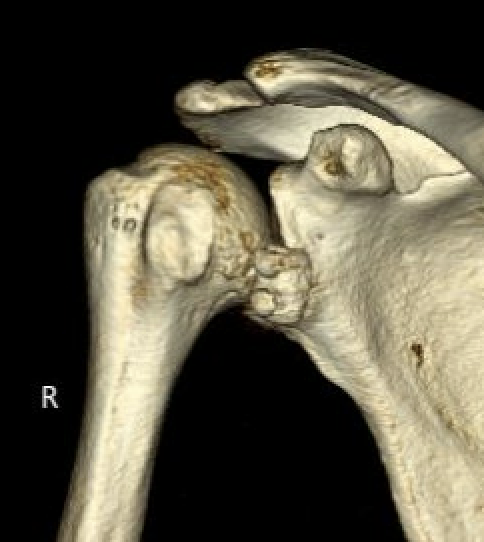
Nonunion with failure of fixation / recurrent instability
Nonunion with failure of fixation
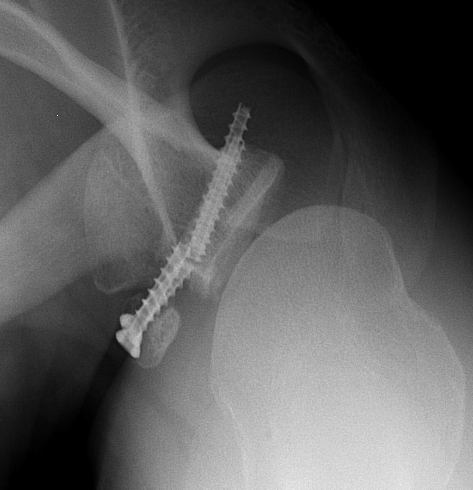
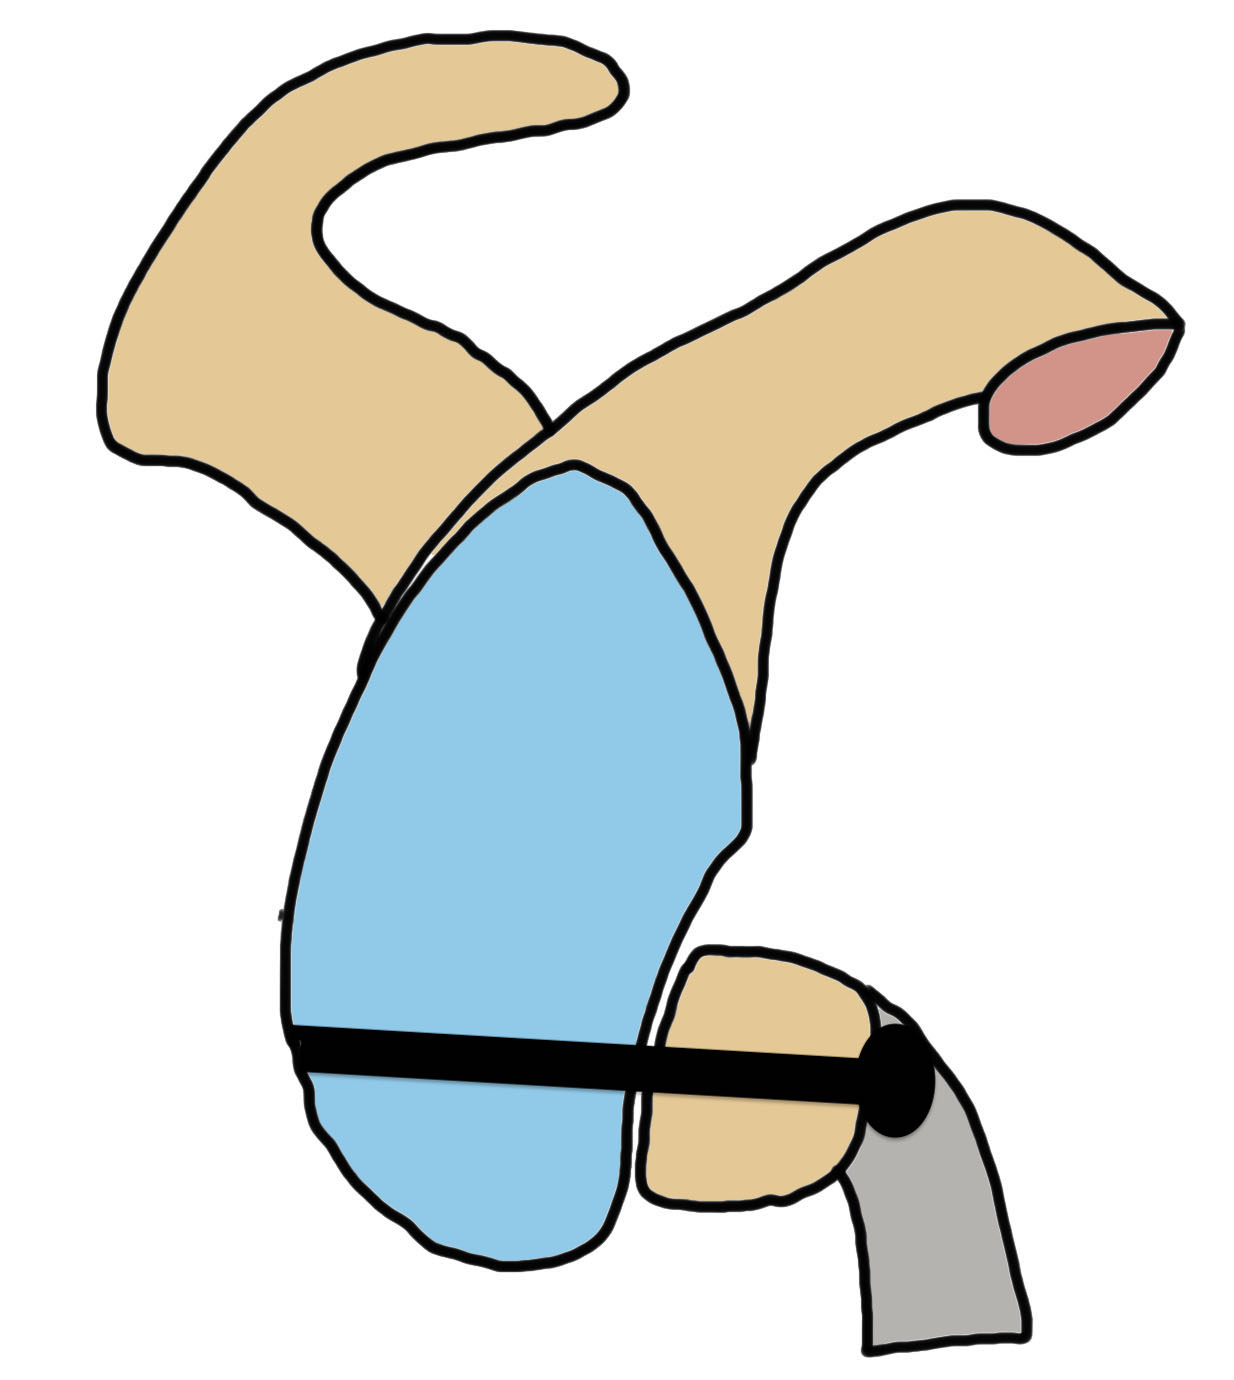
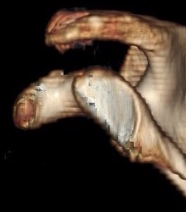
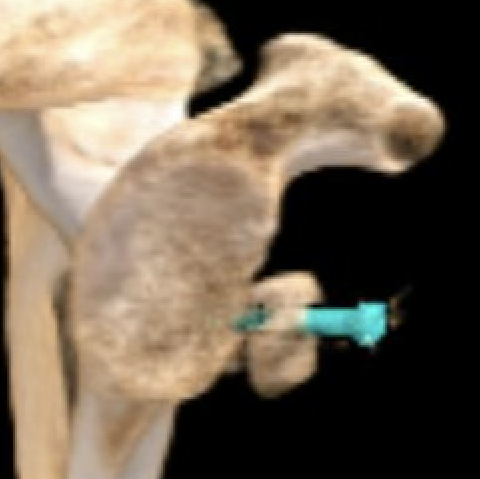
Latarjet nonunion with hardware failure and displacement of coracoid fragment
Options
- distal tibial allograft
- iliac crest / modified Eden-Hybinette procedure
www.boneschool.com/distal-tibia-allograft
![]()